Screening preparations
Instruction
In this topic you will learn about the steps to prepare for a hearing and ear health screen.
Before the screening day
Refer to the Sensory screen checklist to go through the hearing and ear health requirements for:
- Screening space
- Screening equipment.
Screening space
The screening space should be clean and furniture ready.
Instruction
Look at the screening preparations section of the Screen checklist and answer the following question.
Question
What is the most important feature of the screening space for hearing?
Select one.
If you selected c, you are correct!
It is important that noise levels are maintained below 40 dB for the hearing screen. The length of the room and lighting are important features for the vision screen.
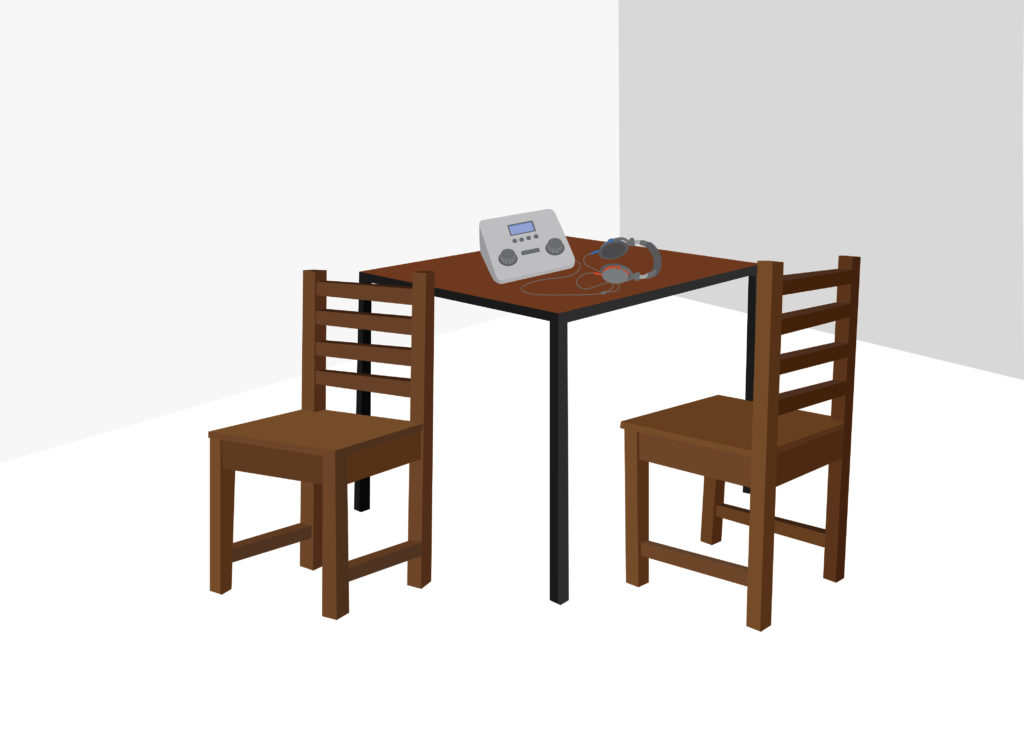
Screening equipment
For the hearing screen you will need:
- A hearing test device (audiometer). This could be a machine/tablet or audiometer app on smartphone:
- The audiometer may have Response button. A signal can also be used. For example, a child may raise their hand
- Noise cancelling headphones.
Tip
Check equipment is in good working order before screening day.

Audiometer machine and headphones
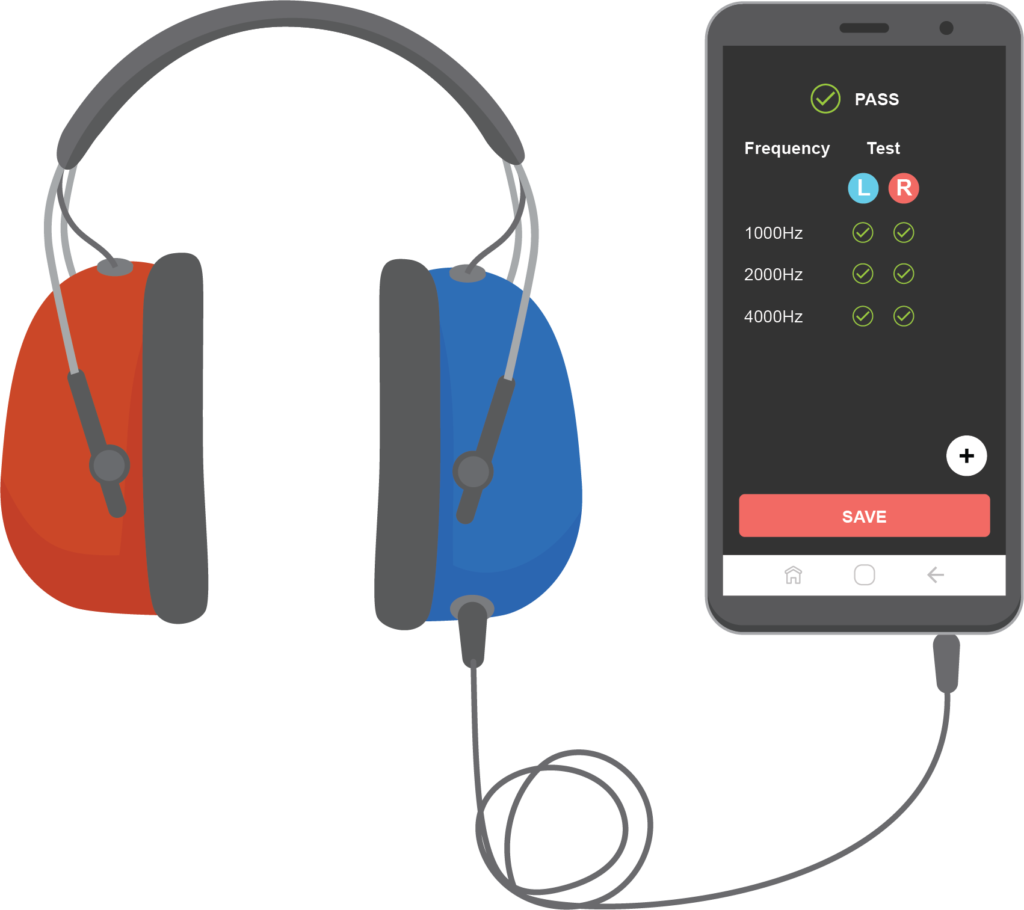
Audiometer app on smartphone
For the ear health screen, you will need:
- Otoscope with spare batteries and bulb
- Speculums (at least two different sizes)
- Sound level meter/mobile app to check background noise levels
- Cleaning materials for hands and equipment
- Furniture:
- Table
- Two chairs.
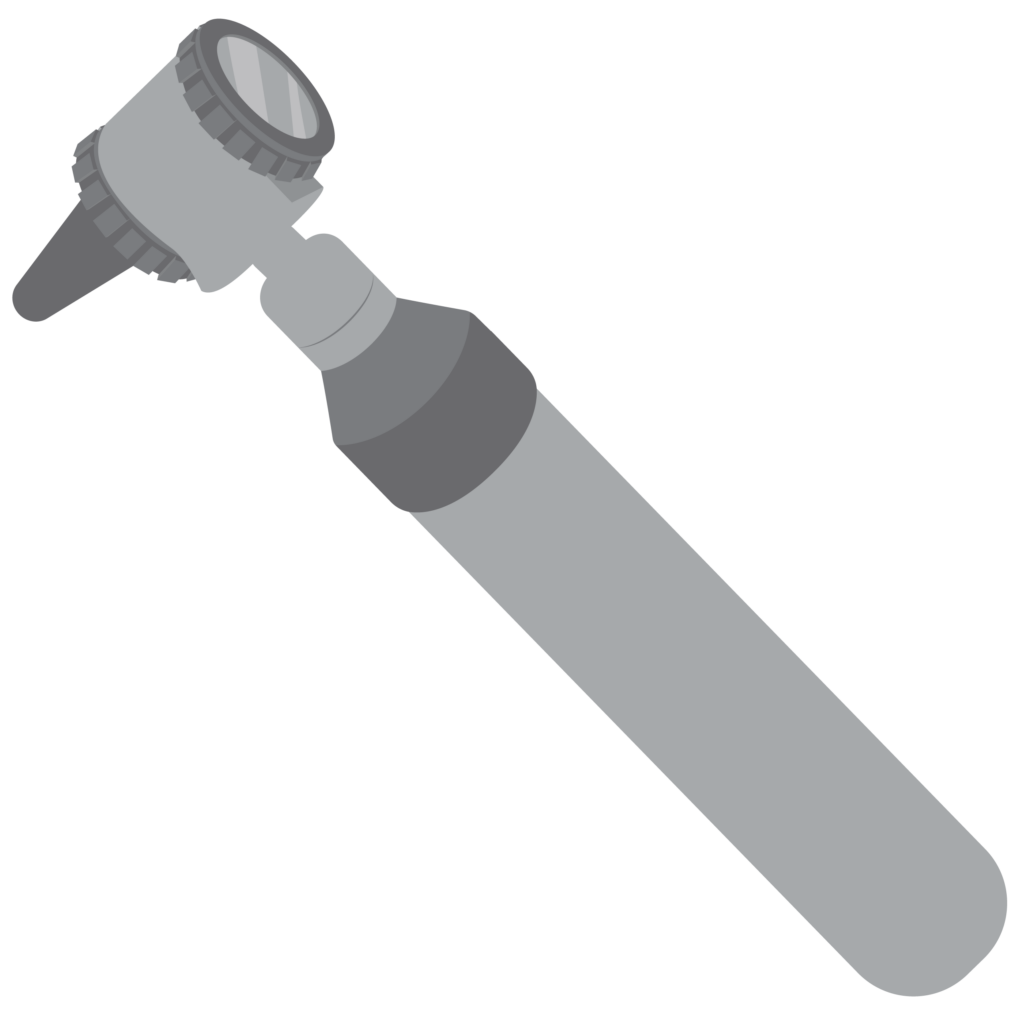
Otoscope with speculum attached
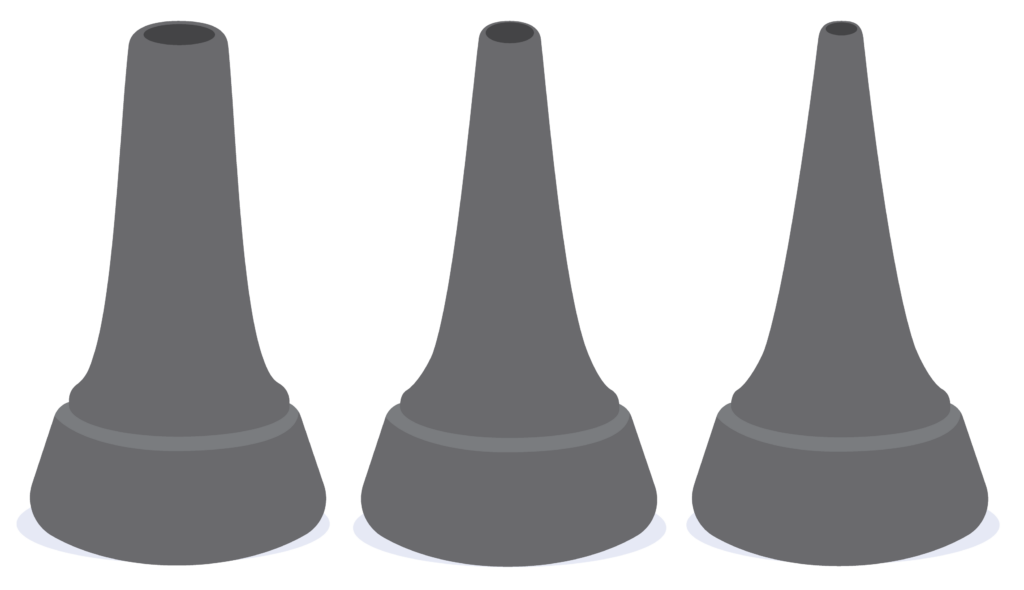
Speculums of different sizes and shapes
Question
What actions may help if the otoscope light is not working?
Select two.
If you selected a and c, you are correct!
Replacing the battery or bulb may help.
b is incorrect.
Do not tap the otoscope against the table. It may damage it.
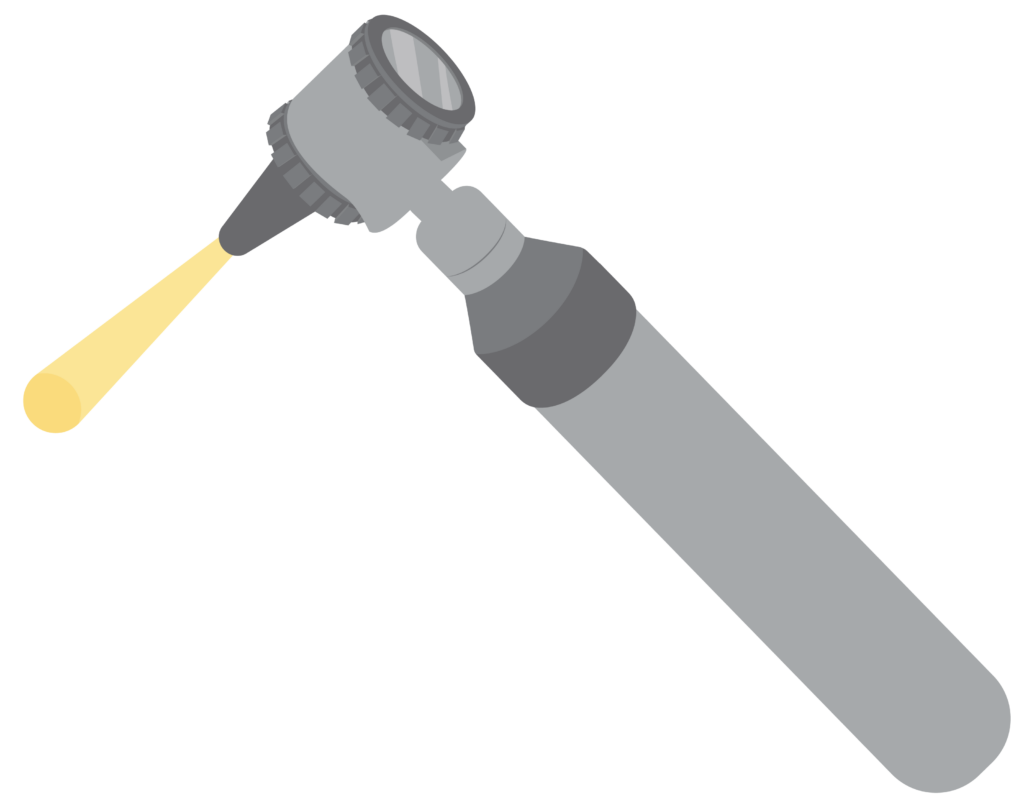
Otoscope with light switched on
On the screening day
- Set up the space
- Run the group preparation session for the children.
Set up the space
Check background noise levels using a sound level meter/mobile app.
Activity
- Download the hearWHO app on to a smartphone
- Click on ‘check your hearing’ to access sound level meter
- Allow permission to measure noise
- Test the background sound levels are suitable
Is the background noise level suitable for a hearing test (in green or yellow)?
Instruction
Do not continue the hearing screen if the sound exceeds 40 dB. Rearrange screening for another day in a more suitable space.
Position equipment and furniture:
- Table near a power source (if needed)
- Position equipment on table
- Position chair for child. The child should not be able to see your hands pressing the audiometer buttons.
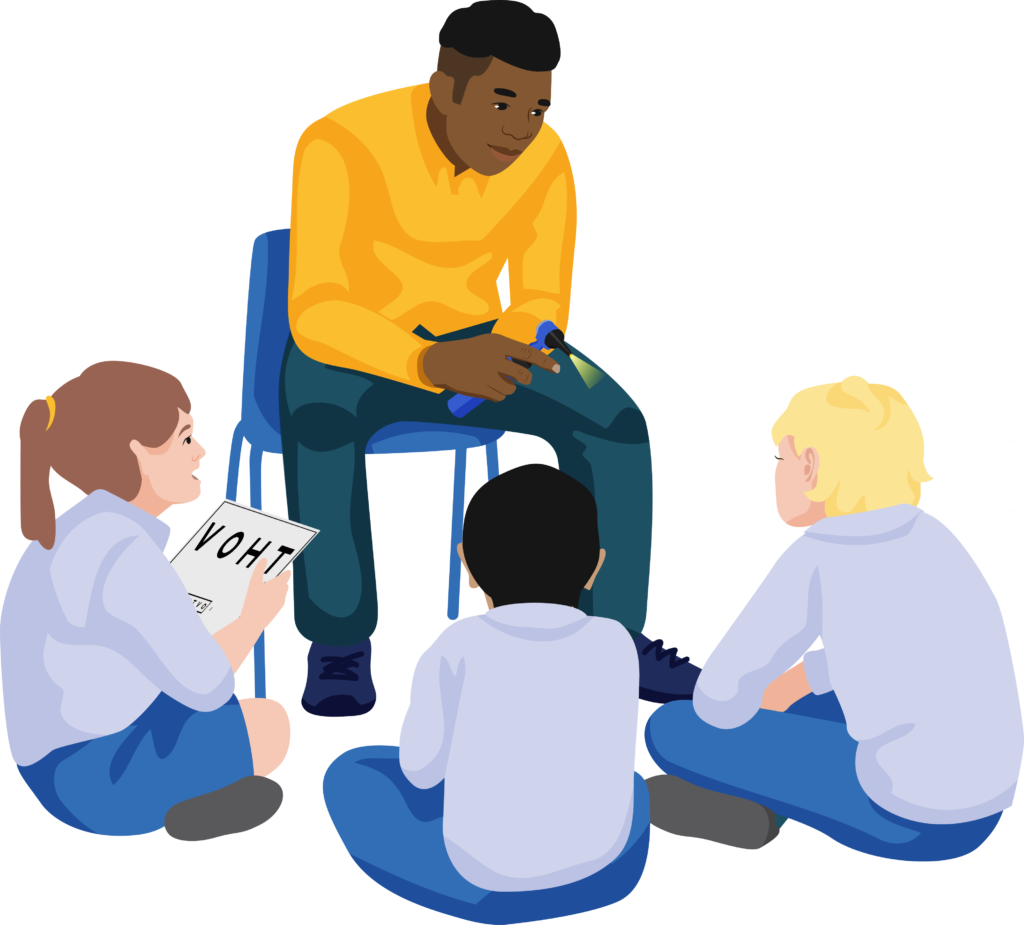
Group preparation session
This session is done to prepare the children for the vision and hearing screen.
Instruction
Learn more about introducing vision screening in the Vision and eye health in children module: Screening preparations.
Show the children the audiometry equipment, headphones and otoscope.
Explain you will:
- Put headphones over their ears and ask them to listen to different sounds
- Ask them to show you if they can hear the sound by raising their hand.
Show them the otoscope with the light turned on. Explain you will use it to look inside their ears.
Reassure them that nothing you do will hurt them.