Ear health screen
Instruction
In this topic you will learn how to carry out an ear health screen.
Prepare
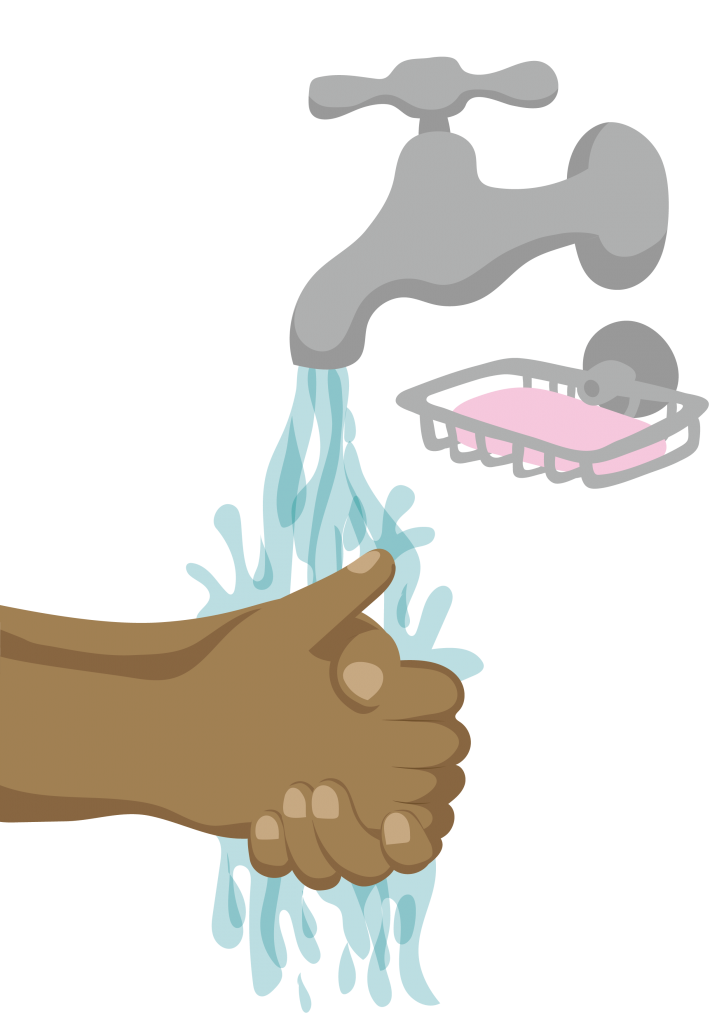
- Always wash and dry your hands (with soap or sanitizer gel) before and after every ear health check
- Remind the child that you will be looking in their ears with a torch (otoscope).
Use an otoscope and speculum for the ear health screen.
- Check that the otoscope light is working
- Select a size of speculum that fits comfortably inside the child’s ear
- Clean the speculum with cotton wool and disinfectant before and after every ear health check
- Place the speculum onto the otoscope.
Question
Which size of speculum should you use to look inside a person’s ear?
Select one.
If you selected d, you are correct!
Ear canals for different people are different sizes. Always choose the largest that fits comfortably into the person’s ear canal.
Ear health screen

Outside of the ear
Instruction
Check to see if the outside of the ear is healthy using an otoscope.

- Sit or bend down and use the light of the otoscope so that you can see the outside of each ear more clearly
- Check from behind and in front to look for signs of ear health problems
- Record the results on the screen form.
Results:
- If both ears look healthy select Yes
- If one or both ears do not look healthy select No and record the reason why.
Both ears must be healthy to record a Pass result. If one or more ears are not healthy Refer.
Tip
If the child has difficulty keeping their head still, another adult can gently hold their head during the ear health screen.
Press the tragus
Instruction
Press the tragus gently to check if the child feels pain.
If the child has pain when you press the tragus on either ear, this could be a sign of an ear infection.
Record the results on the screen form.
Results:
- If No for both ears Pass
- If Yes to any Stop the ear health screen and Refer.
Inside the ear
Instruction
Check that the child’s ear canal and eardrum are healthy using an otoscope.
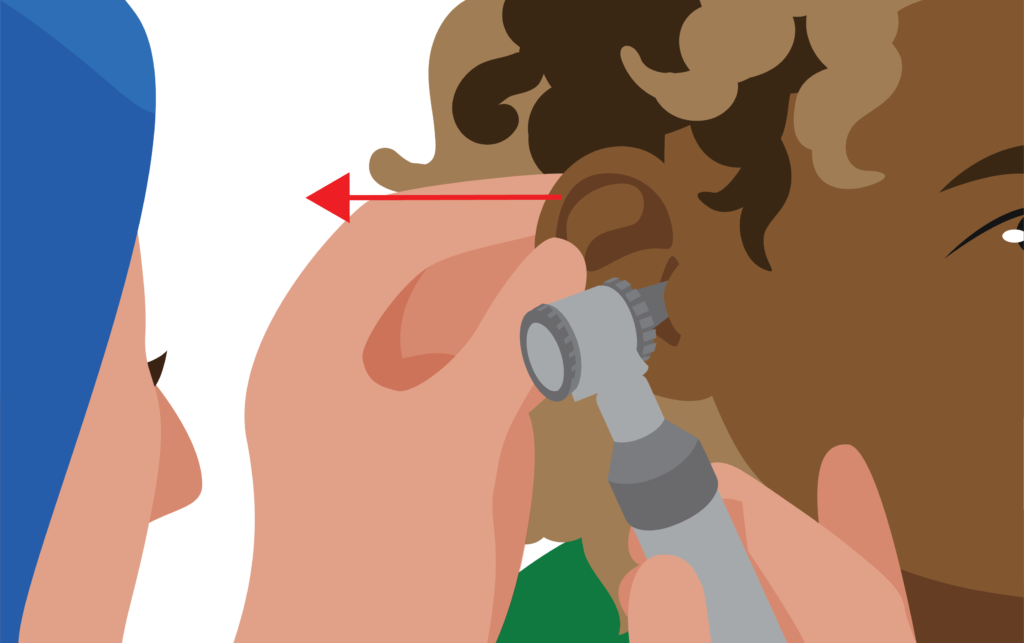
Prepare the ear
Using the hand that is not holding the otoscope, gently pull the back of the ear straight back. This makes it easier to see inside the child’s ear canal.
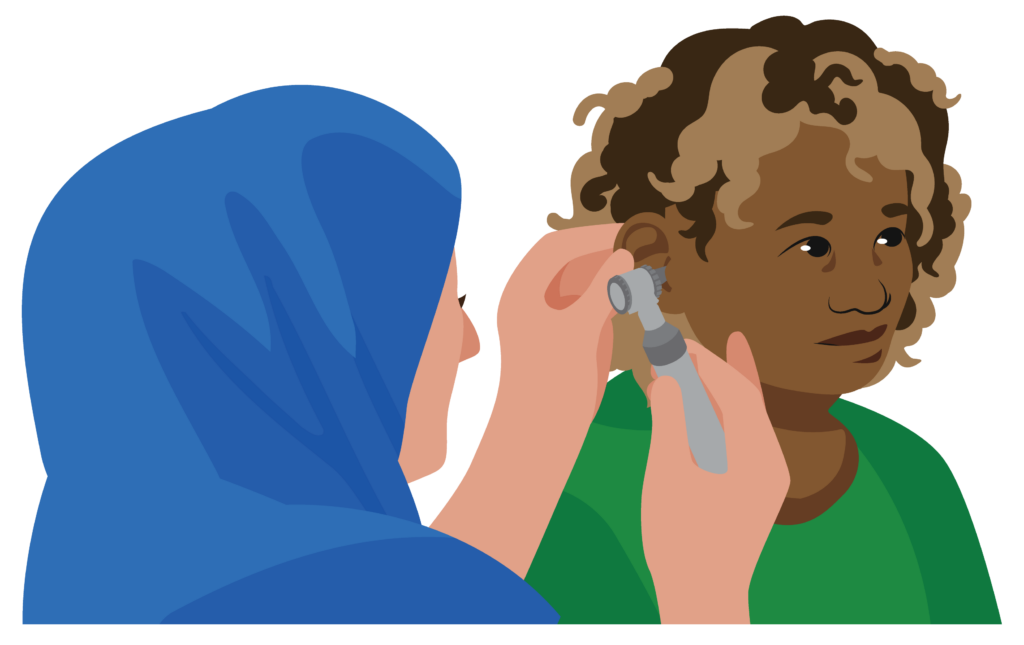
Holding the otoscope
Hold the otoscope in your right hand if you are examining the child’s right ear, and your left hand if you are examining the child’s left ear.
Hold the otoscope as you would hold a pen.
Tip
Rest your small finger on the child’s cheek to keep the otoscope stable.
Insert the speculum
Do not insert the speculum too deeply into the ear canal. Ideally you should not need to insert more than half the length of the speculum.
Pain can be caused by not directing the speculum correctly or by inserting it too deeply. Pain can also be caused by infection of the outer ear.
Warning
Always insert the otoscope gently to avoid causing pain or damage. If the child experiences pain, stop the ear health check.
Refer to ear care personnel.
Ear canal
Look inside the child’s ear canal with the otoscope.
If both ears look healthy tick Yes.
If one or both ears are not healthy and have signs of one or more of the following tick No:
- Pain
- Swelling
- Redness
- Discharge
- Blocked ear (ear wax or foreign body).
Results:
- If Yes for both ears Pass on the record form
- If No for one or both ears Refer and tick the reason why.
Activity
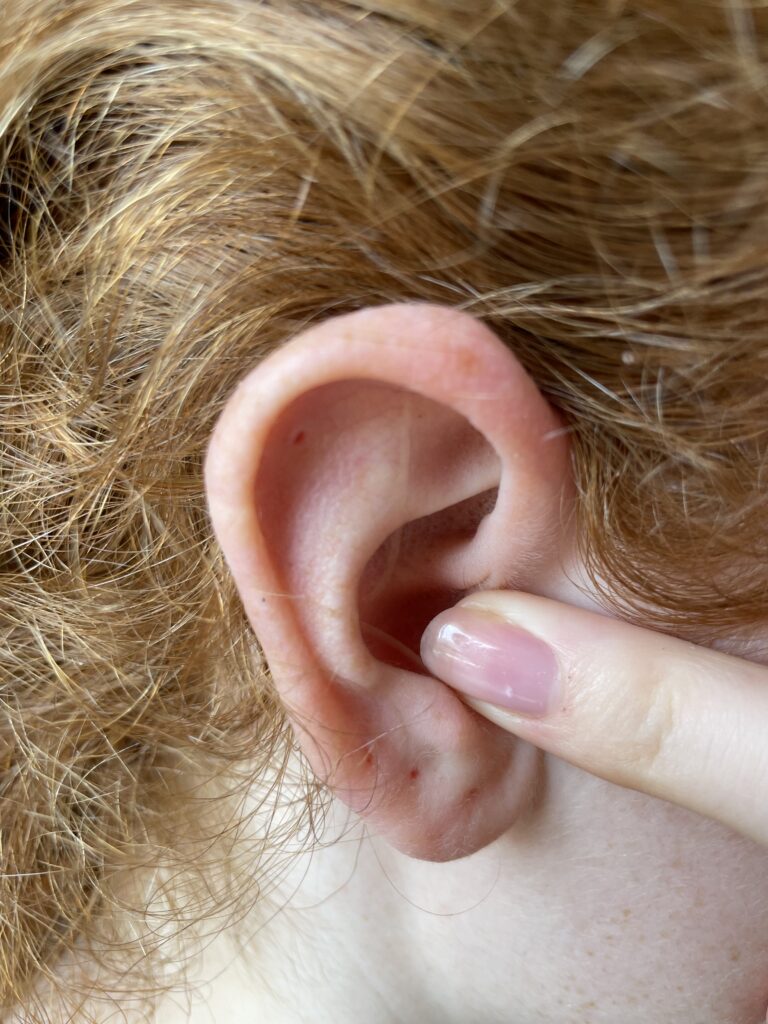
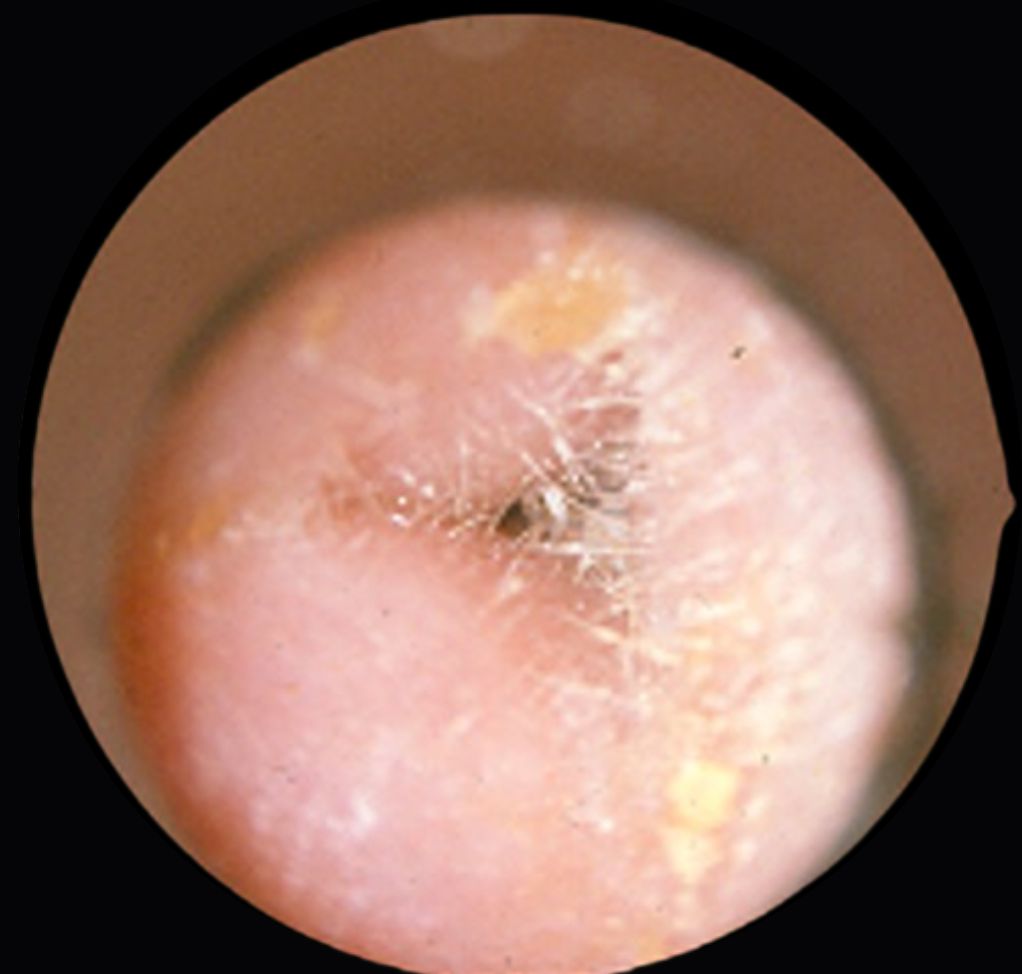
Look at the pictures below. Does the ear canal look healthy?

No is correct!
The ear canal is red and swollen.
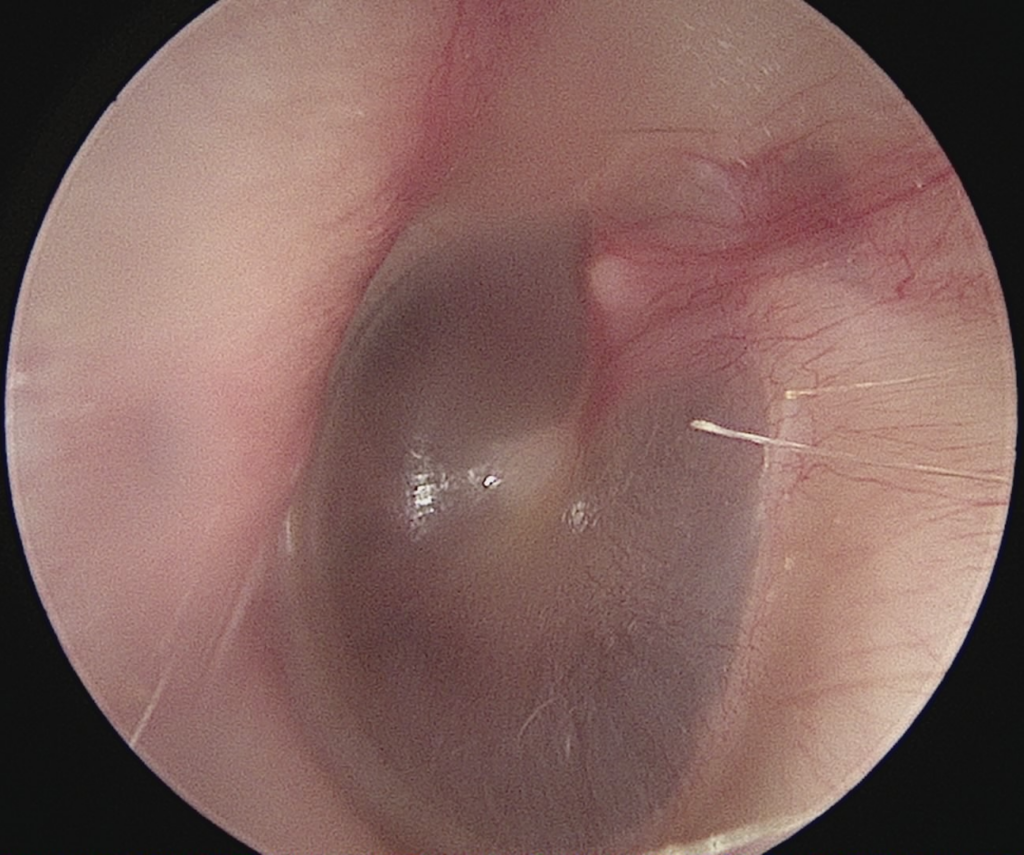
Yes is correct!
There is no sign of swelling, redness, discharge. The ear is not blocked (wax or foreign body).
Eardrum
Check the eardrum with the otoscope to see if both eardrums look healthy.
If you cannot see the eardrum, it may be due to:
- Being blocked or
- The otoscope is not positioned correctly.
Gently adjust the position of the otoscope to see if this helps.
- If both eardrums look healthy tick Yes
- If one or both eardrums are not healthy tick No and record the reason why:
- Unable to see eardrum
- Swelling and/or redness on the eardrum
- Holes (perforations).
Results:
- If Yes for both ears Pass on the record form
- If No for one or both ears Refer and tick the reason why.
Activity
Look at the picture below:
Can you see the eardrum?
No is correct!
The ear canal is swollen and blocking the view of the eardrum. You are unable to see the eardrum.
Remember Do Yoon?

During Do Yoon’s ear health screen the screener found that wax was blocking the ear canal in his left ear.
The screener referred him to local ear care personnel for the wax to be removed.
Do Yoon was screened again a month later and had a Pass result for both ears.
Instruction
Watch the video of an ear health screen.
Question
Organize the steps of an ear health screen into the correct order by numbering them 1 to 4.
The correct steps are:
- Prepare otoscope and select suitable size of speculum
- Check outside of the ear using the otoscope
- Hold the ear correctly to look inside the ear
- Check ear canal and eardrum
Remember to repeat on both sides!
Activity
Practice carrying out an ear health screen.
Instruction
If it is not possible to complete any part of the hearing or ear health screen with a child, discuss need to Refer with parents.